So you’re looking to set up a personalized email address, website or blog. I’m a Bluehost affiliate partner and I want to be clear that I receive a commission if you sign up with them. You are certainly welcome to set up a website, blog or personalized email anywhere. I spent a fair bit of time researching where to send Consultant Journal readers, though, and I chose Bluehost because they’ve been around the block, they’re a recognized name and their approach seems good. I’ll walk you through the steps.
- Click here to go to the Bluehost website (it will open in a new window).
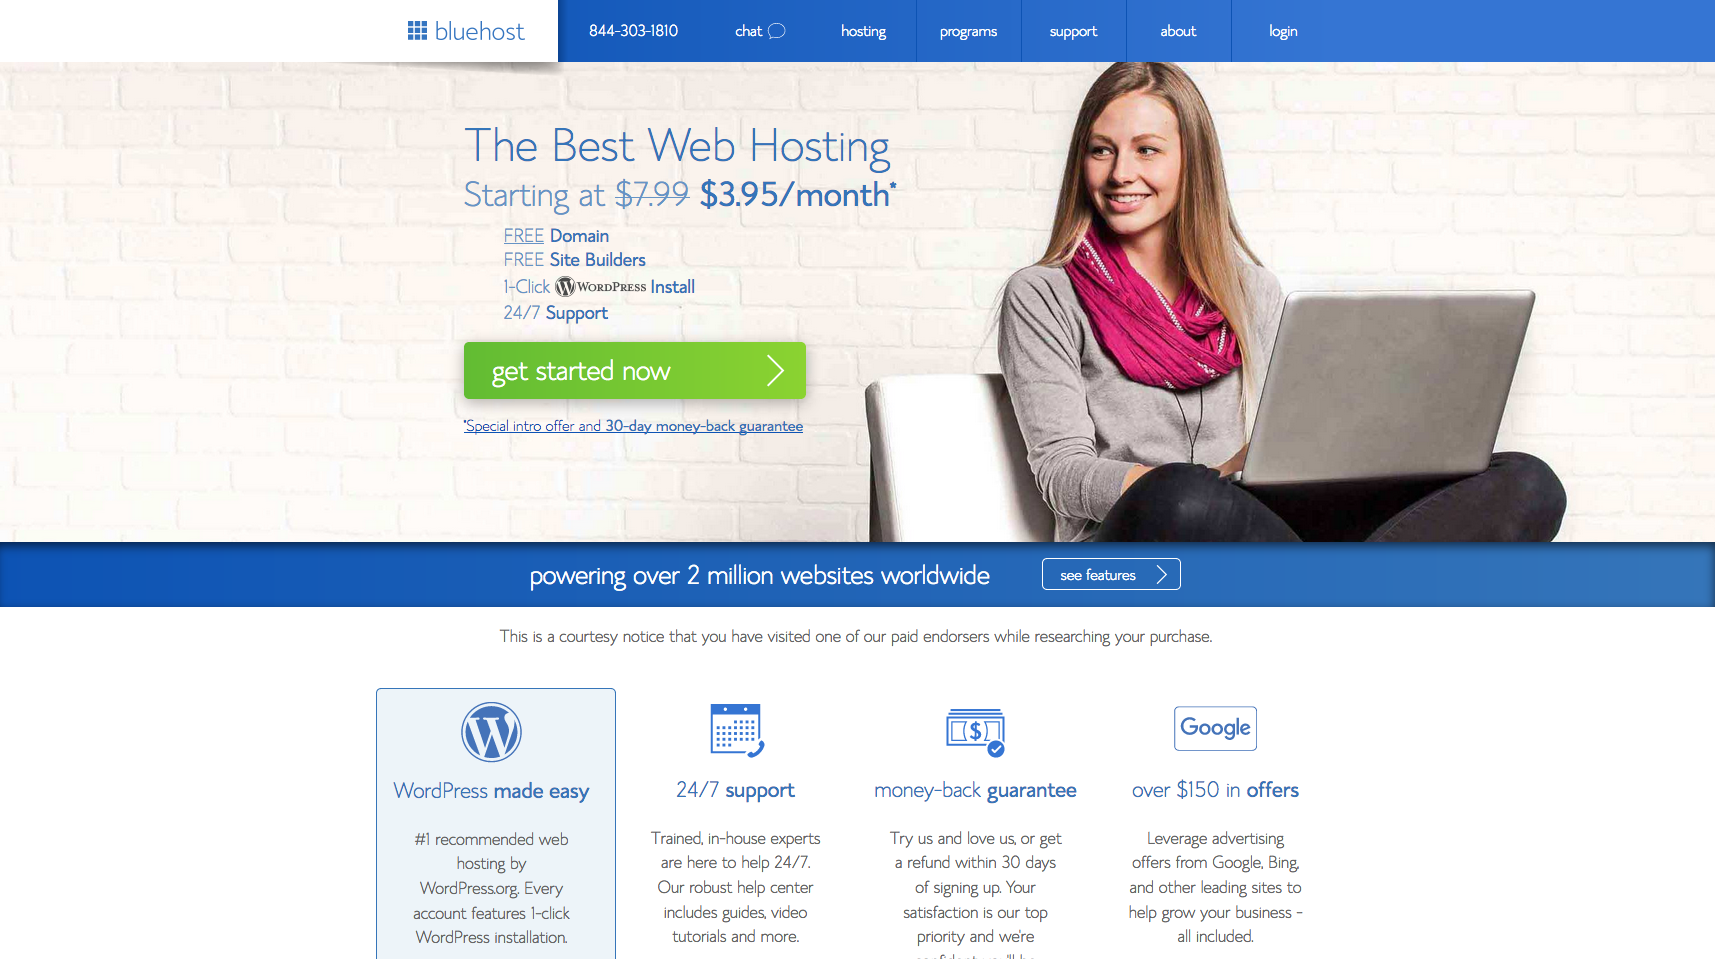
Got it? Good. I am a big WordPress fan and I find it’s pretty easy for most people to set up, so I suggest going with that.
2. Choose a plan.
I’m a bit of a klutz, so I like having a backup for my websites. You can choose any of these plans, but I personally feel most comfortable with one that comes with a site backup, so that I can recover anything I lose. However, when I was starting out, I used to just keep copies of my stuff in a folder saved in the cloud. If you’re just going to have a few pages, you can start that way. However, think about whether you also want domain privacy. I also pay the extra for my sites to have my registration details kept private, so that I don’t end up with someone showing up at my office or home unannounced, except for the courier folks who bring my chocolate subscription!
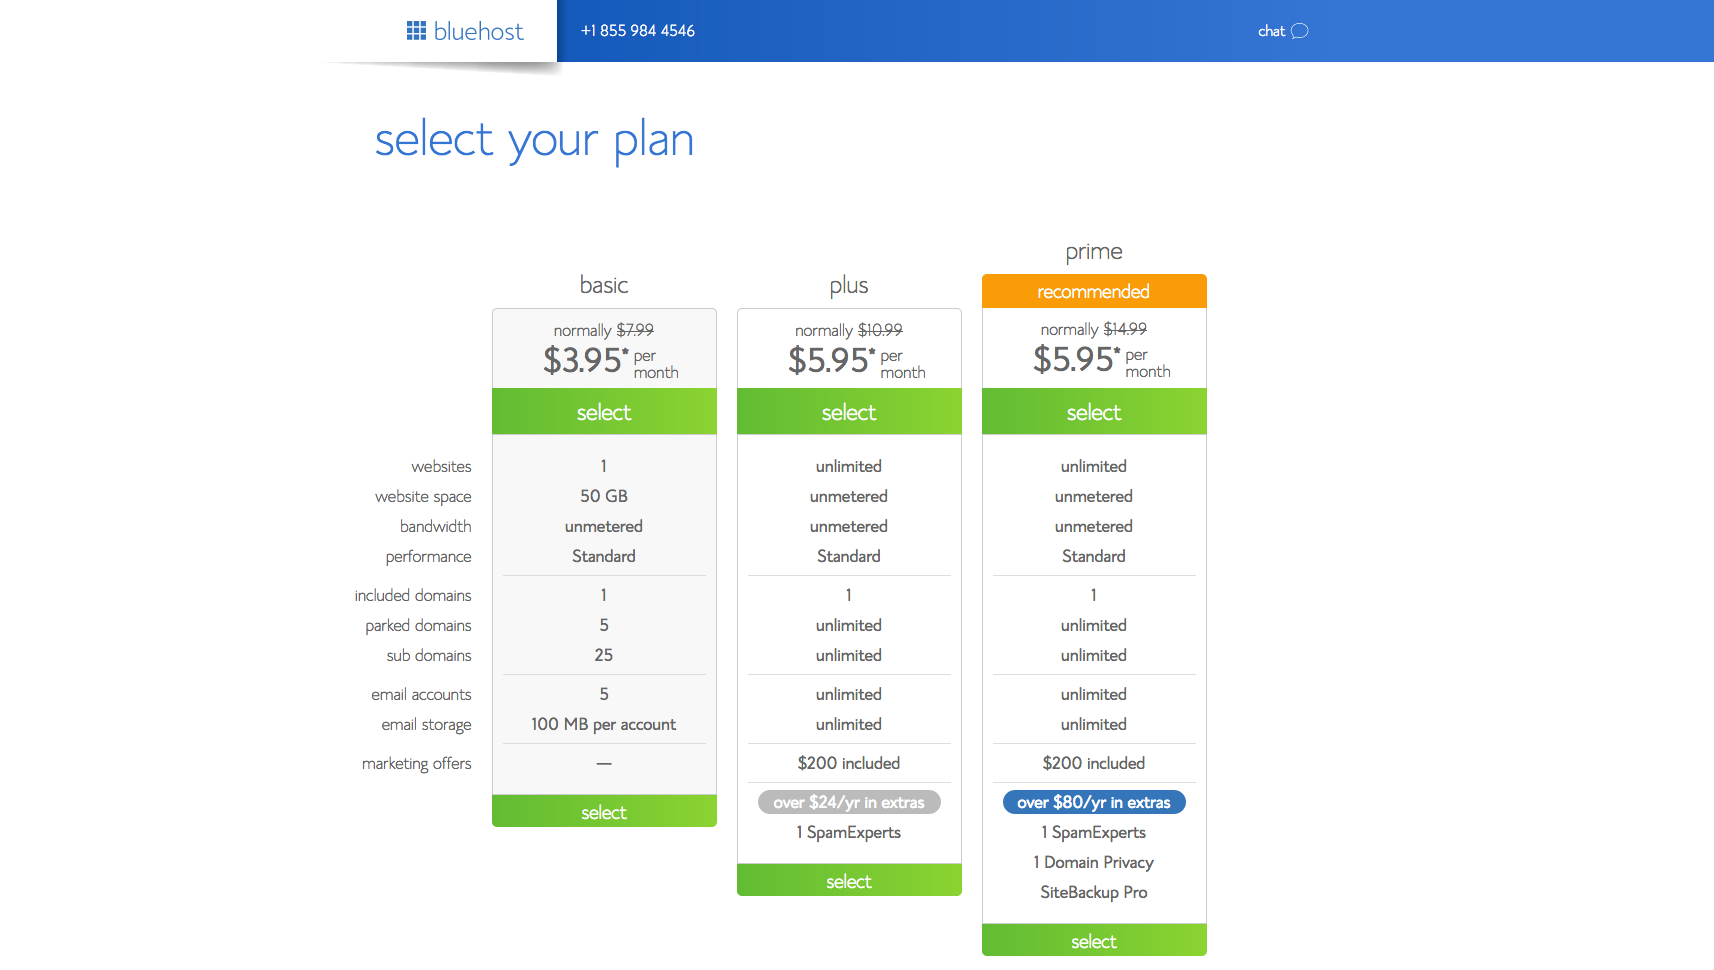
Okay. So click the plan you want.
3. Choose a domain.
There are lots of places you can buy domain names and you’re certainly welcome to choose one from your vendor of choice. Bluehost includes a free domain with your registration setup, though, so you might want to stick with them and keep it simple.
If you’re choosing a domain name, I recommend going for something short and sweet. I’m a bit biased to .com domains, but it’s fine to look at other options. With so many people just relying on search engines and links, you have a bit more flexibility these days. Still, I prefer to find something short and easy to spell, pronounce and remember. I also suggest making sure you aren’t infringing on any trademarks or existing business names. You may want to try using the domain suggestion tool to find something, if your preferred options are taken.
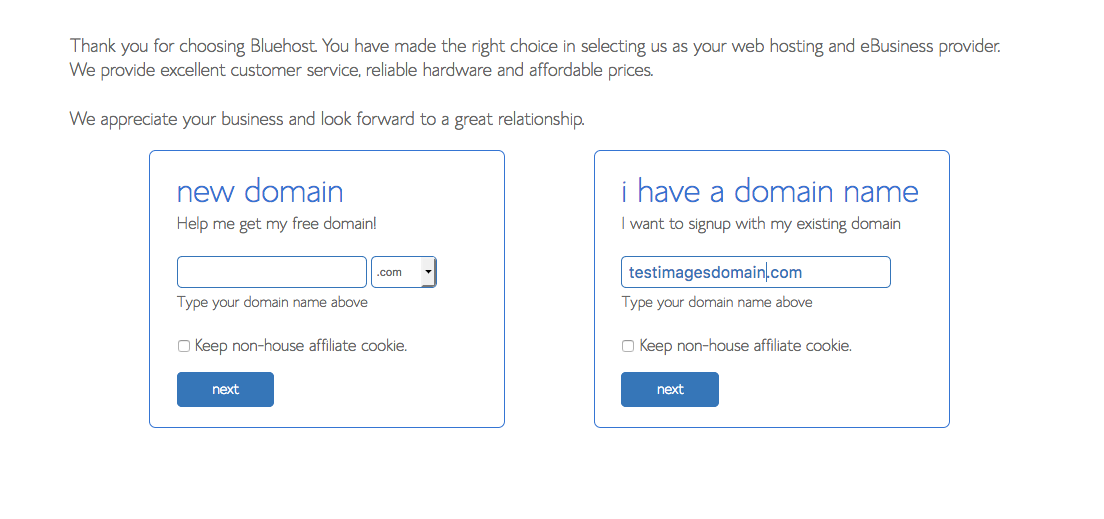
Make your choice and click next. Depending on what you chose, you’ll either be on to your domain naming or the payment details.
4. Set up your account
Now you’re on to the account information screen. Provide your registration details. (Many countries require you to provide your contact information to comply with laws about website registration.)
Then choose your package. (It’s okay to choose the shortest time frame. You don’t have to go for three years and, although, as a partner, you might think I’d push you to go for the longest term, I suggest you just do a shorter term, so that you get a taste of what’s happening.) You can’t pay by the month, but you can choose a 1, 2, 3 or 5-year package that works out to a decent monthly amount. 
When I set up website, I click the domain privacy protection button. I don’t like my personal details out there for anyone to find. If you happen to work from home, it’s especially important that you consider a privacy plan – it doesn’t add very much and it keeps your address and other details private. Otherwise, just ignore all the special offers and details.
5. Add your billing details
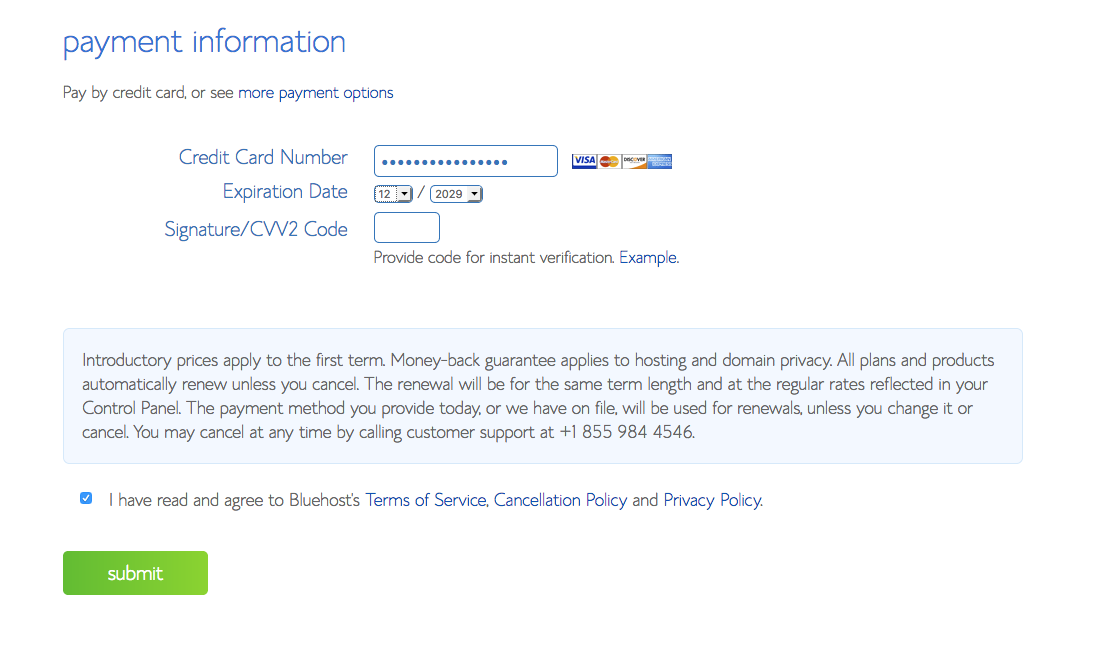
Read the fine print and the terms, cancellation and privacy policy. If you agree, click submit.
6. Create your password.
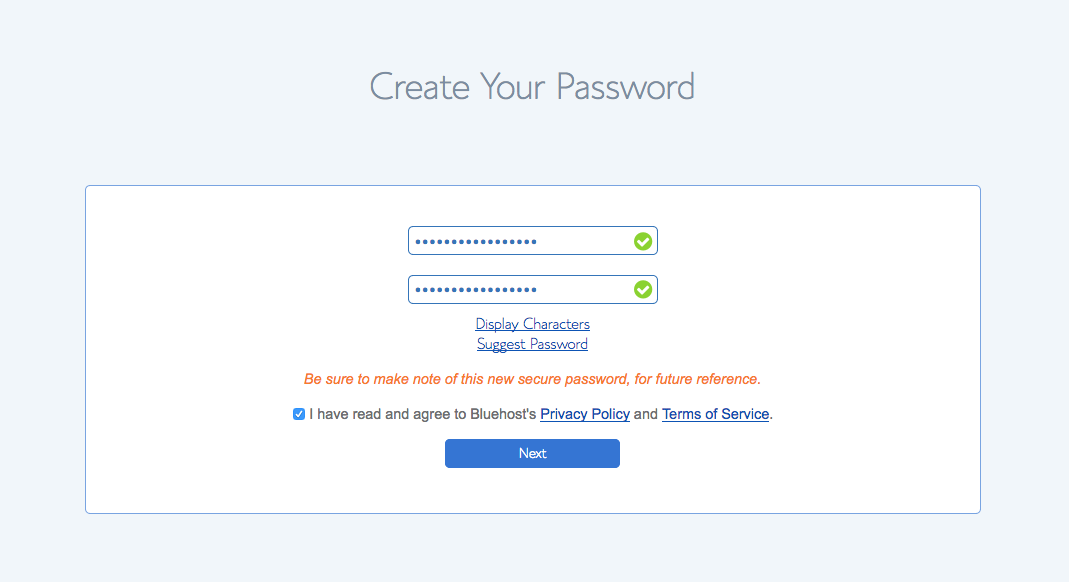
You’re almost there.
Click the Congratulations button.
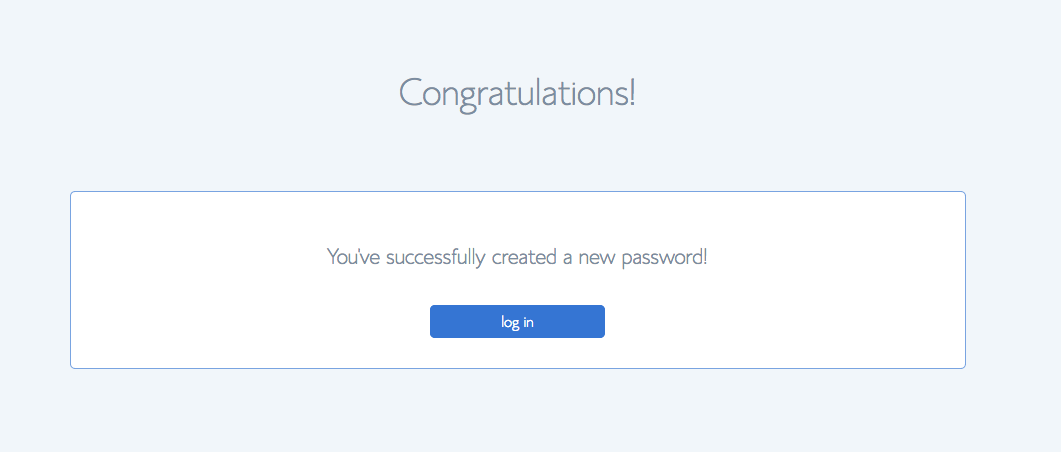
And there you go. You’re done.
Okay. You’re all set up. You can set up your email, website or blog now.
While you can choose one of the website themes they offer, I generally stick with the themes that come with WordPress. That’s because themes get updates fairly regularly and you could be stuck with an out-of-date theme that hackers would exploit. (This has happened to me and it really hurt my brand. So now I make sure I use popular themes, not custom or one-off themes.)
Go check out your new domain – and don’t be surprised when you see it isn’t ready yet. It takes a while for all the new domain and name server info to percolate through the Internet. Give it a day or two. But, in the meantime, you can start building.
Click the all done button:

…
Set up on WordPress
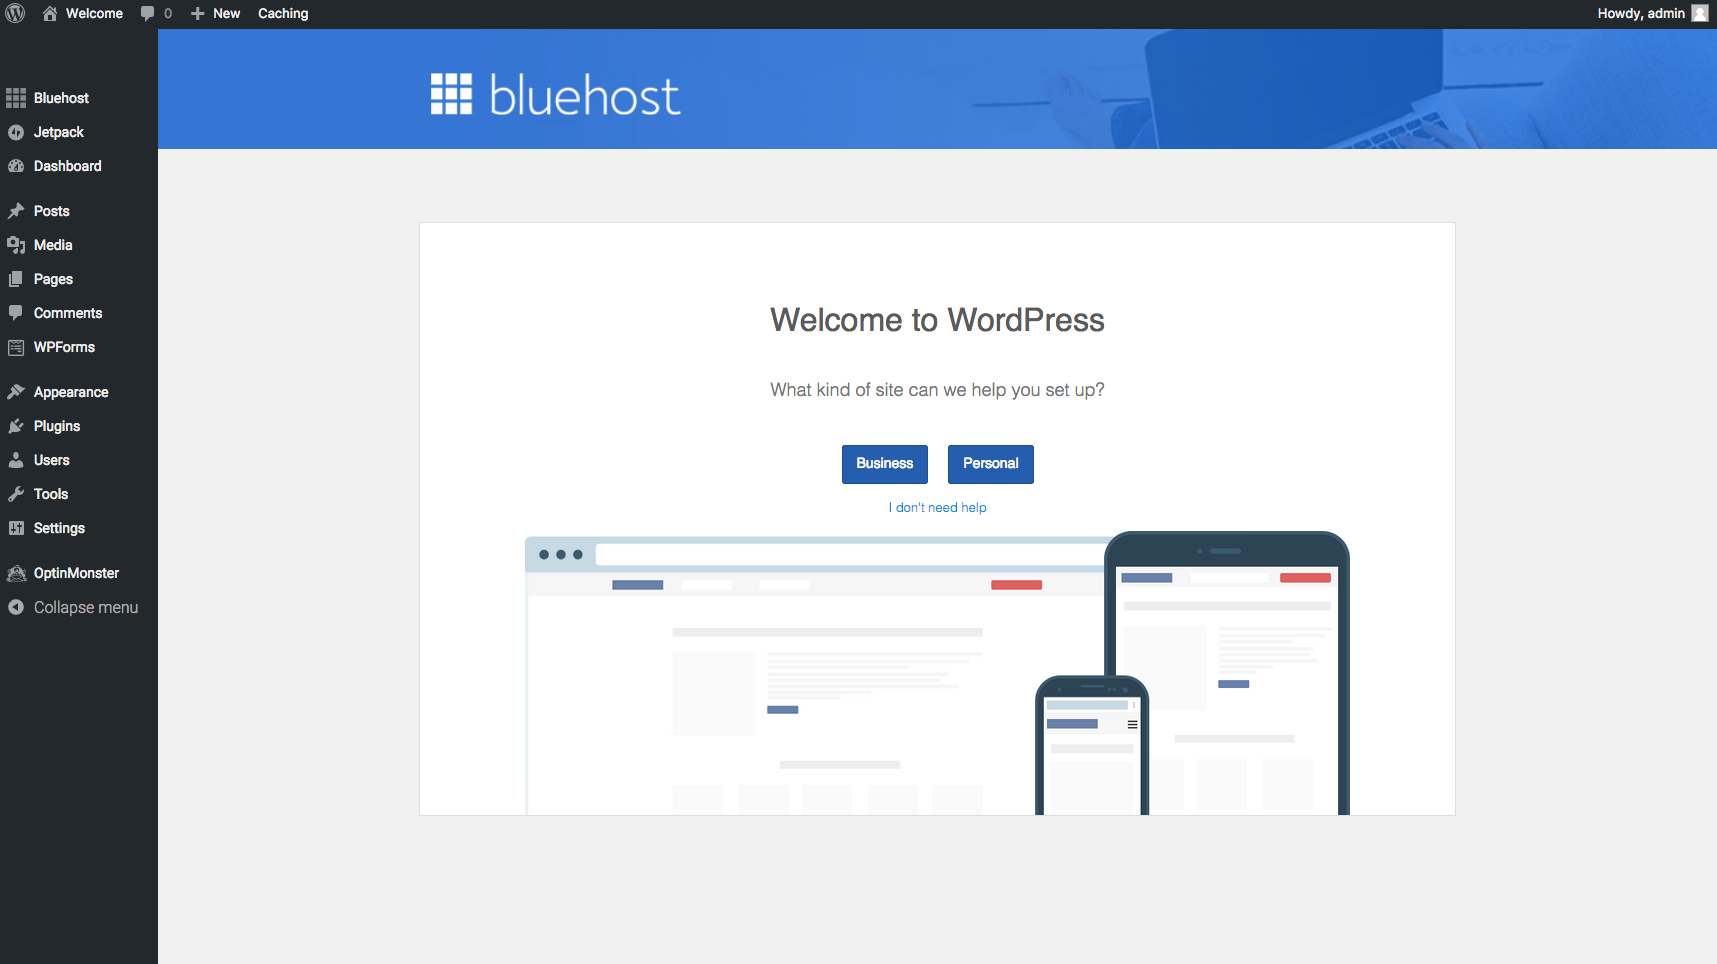
Ta da!
So, from here, I would just click “I don’t need help.” Okay, I understand. You’re thinking, “BUT I DO NEED HELP!” I get it. It’s just that the options with the blue buttons come with things set up and then you might find you’re trying to undo some of what’s been set up. If you click “I don’t need any help”, you can start from scratch and just set up the way you want.
If you’re just doing a blog, you can simply have one page and do everything there.
If you’re doing a website, I recommend you do what I teach my university students! Set up the main home index page, About and Contact. From there, you might want to add pages for Blog, Services, Products. Keep it simple.
Check your email
Make sure you’ve activated any account and website links sent to you by Bluehost.
STUCK? HAVING TROUBLE? CONFUSED?
Contact Bluehost at https://www.bluehost.com/contact. Calling usually works better than chatting and, personally, I find I usually connect better with people on the phone, when I can hear their voice. I don’t have your account information! Bluehost has all that and they can help you figure things out.
Enjoy your new website or blog!